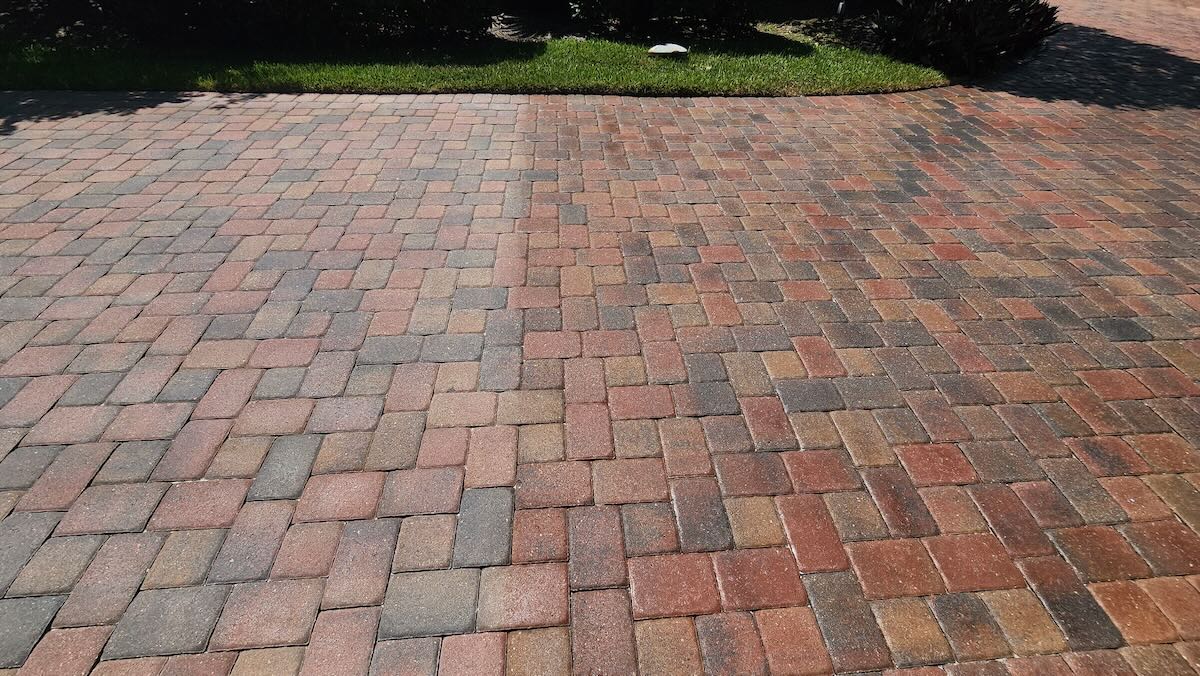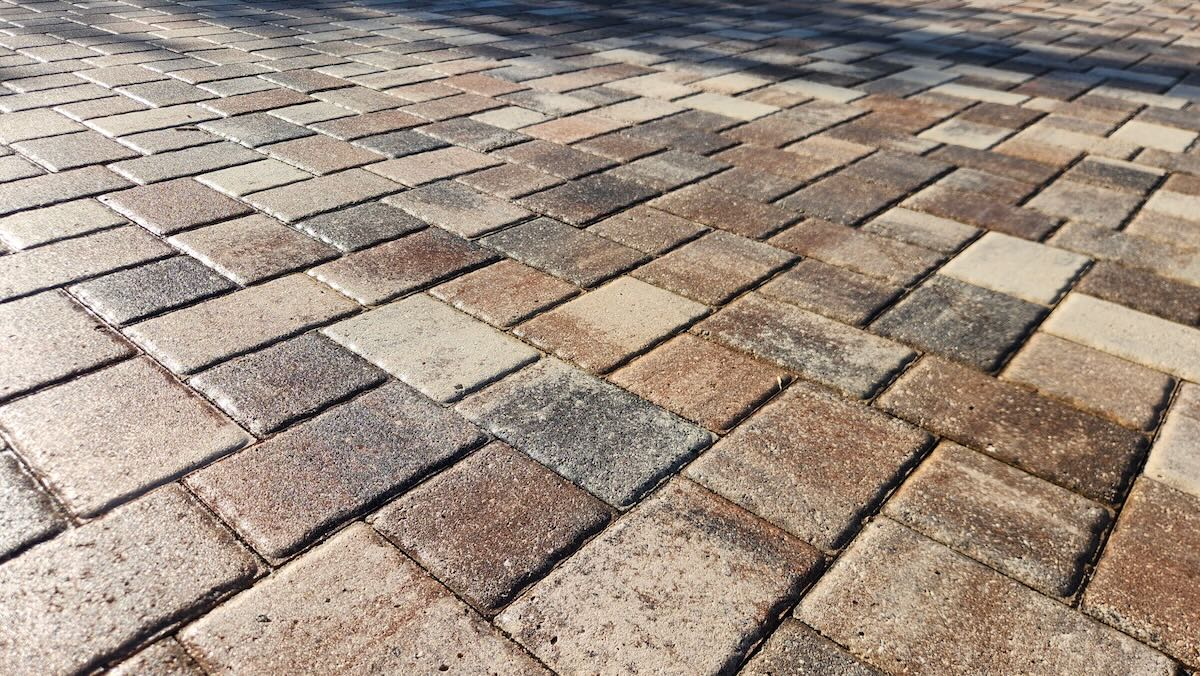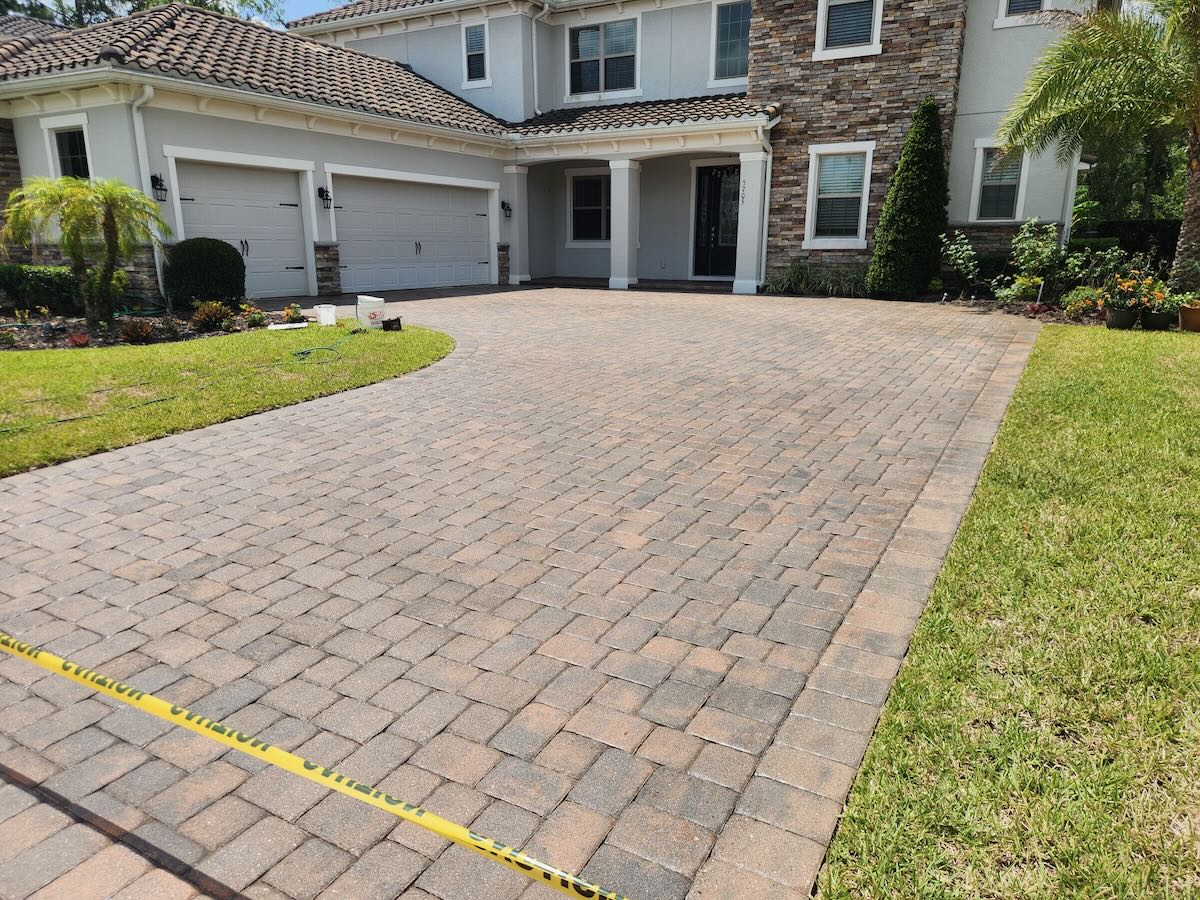

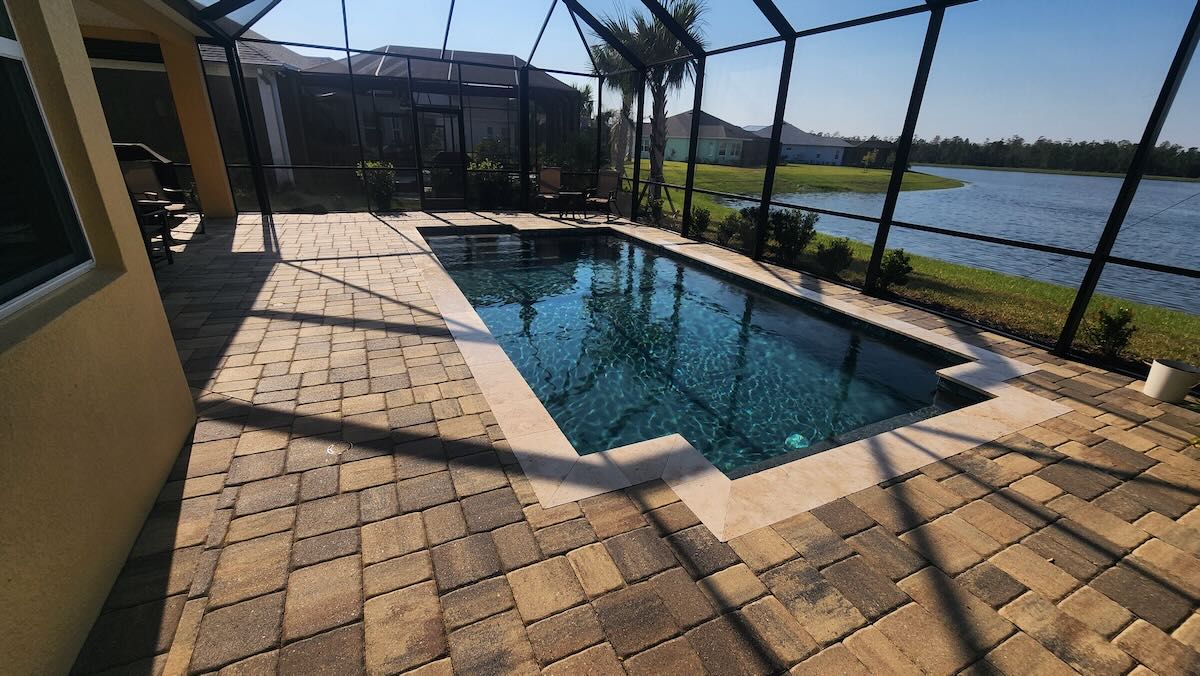
Patio pavers need proper cleaning, drying, and sealer application for a smooth finished result.
Key Takeaway
Sealing a paver patio in Florida is mostly about preparation. Skipping the cleaning, joint sand, or moisture dry-down is the single biggest reason homeowners end up with white haze, peeling sealer, or a job that fails within a year.
Why Paver Sealing in Florida Is Different
Central Florida's climate is not forgiving. Between the summer afternoon storms, year-round humidity, irrigation systems running before sunrise, and ground moisture rising through the slab, your patio pavers are dealing with far more moisture pressure than pavers in a dry climate ever would.
That matters because the biggest reason paver sealing fails — white haze, milky cloudy finish, peeling, or bubbling — is moisture trapped under a non-breathable coating. Florida homeowners who grab a sealer off a hardware store shelf, spray it on a damp surface on a cloudy afternoon, and call it done are almost guaranteed to have problems within a season.
This guide walks through the actual process of sealing a paver patio the right way in Central Florida, what to watch out for, and when it makes more sense to call a professional instead.
Step 1: Treat Mold, Algae, and Weeds Before You Touch the Sealer
Florida's heat and humidity create ideal conditions for mold, algae, and mildew to grow in paver joints and on the surface itself. You can see it as dark green or black staining, slippery spots near shaded areas, or fuzzy growth between joints.
If you seal over mold and algae without treating them at the source, you are locking them under the coating. They continue growing underneath, push the sealer off the surface, and you end up stripping and starting over.
The right starting point is a biodegradable algaecide applied to the full patio surface. Let it dwell and break down biological growth before any cleaning starts. Do not skip this step in Florida. It is not optional the way it might be in a drier climate.
While you are at it, pull or treat any weeds growing in the joints. Joint stabilization in a later step will help slow regrowth, but it cannot fix weeds that are already established.
Step 2: Deep Clean the Surface — Not Just a Rinse
A garden hose is not a paver cleaner. A standard pressure washer aimed straight down into the joints at high pressure is not ideal either — it blasts out the joint sand, which you need.
Proper paver cleaning uses high-volume, lower-pressure equipment that moves contamination off the surface without gutting the joints. The goal is to remove organic staining, dirt, residue, and anything else sitting on or in the paver face before sealer goes down.
Pay attention to a few things during cleaning:
Oil and grease stains from a grill or car drip need a degreaser treatment before general cleaning. Sealer will not bond properly over oil.
Efflorescence — that white, chalky powder that sometimes builds up on pavers — is a mineral deposit from water carrying salts to the surface. It needs to be treated with an appropriate efflorescence cleaner, not sealed over. If you seal over active efflorescence, it will continue to push up and ruin the bond.
Old failed sealer — if your pavers already have a cloudy, peeling, or bubbling coating on them, that failed sealer needs to be stripped before resealing. You cannot seal over it and expect it to hold.
After cleaning, the surface needs time to fully dry. In Central Florida's humidity, that means more than just looking dry on top. The pavers and the substrate underneath need to reach a genuinely low moisture level. Rushing this step is one of the most common causes of white haze and sealer failure.
Step 3: Stabilize the Joints With Joint Sand
After cleaning, the joints are largely empty or partially emptied. This is the time to re-fill them with joint-stabilizing sand before sealing.
Joint-stabilizing sand serves a few purposes:
It locks the pavers in place and reduces shifting over time.
It creates a barrier that makes it harder for weeds to establish roots in the joints.
It gives the sealer something to bond with at the joint level instead of leaving open voids.
Broom the sand in, work it into the joints, and compact it lightly. Let the surface settle. Remove excess sand from the paver face before sealing — loose sand particles on the surface will show up under the sealer finish.
No joint stabilization process in Florida eliminates weeds forever. The climate is too aggressive. But it makes a real difference in how long the joints stay clean and how much maintenance the patio needs between sealing cycles.
Step 4: Choose the Right Sealer for Florida Conditions
This is where a lot of homeowners make a costly mistake.
In Florida, a breathable water-based sealer is almost always the better choice for patio pavers. Here is why:
Florida pavers deal with constant moisture pressure — rain, irrigation, ground moisture, humidity. A breathable water-based sealer allows moisture vapor to escape through the coating instead of becoming trapped under it. That means the sealer stays bonded and clear instead of turning white or bubbling.
Solvent-based sealers create a more airtight film. In low-humidity climates, that can be fine. In Florida, that film becomes a trap. Moisture vapor builds pressure underneath, and the result is white haze (also called blushing), peeling, and coating failure. Many of the patio sealing problems homeowners call us about come from solvent-based sealer applied in conditions it was not designed for.
For homeowners researching "best paver sealer for Florida" — the short answer is a premium water-based sealer specifically formulated for humid, wet conditions. Gloss level is a separate choice (wet look, matte, satin) and mostly comes down to personal preference for how the finished patio looks.
A note on stamped concrete: Many homeowners ask about the best sealers for stamped concrete alongside paver questions. Stamped concrete uses a similar logic — breathable, water-based, humidity-appropriate — but the surface prep and application process differ from interlocking pavers. If your patio has a mix of pavers and concrete sections, make sure your contractor knows how to handle both.
How Many Coats and How to Apply
For most patio paver projects in Central Florida, two to three coats of sealer is standard. Here is the general approach:
Apply the first coat thin and even. Work in sections. Avoid puddling.
Let the first coat tack up before applying the second. Follow the product's recoat window — applying too soon traps solvent, applying too late means the coats do not bond properly.
On the final coat, maintain a wet edge and work consistently to avoid lap marks.
Over-application is a real problem. Thick coats of sealer look tempting — more is better, right? Not with pavers. Thick application traps moisture, slows cure, and creates a surface that clouds and peels faster than a properly thin application.
Application method matters too. Sprayers and rollers both work depending on the surface and product, but technique is what separates a clean finish from streaks, foam, or uneven sheen.
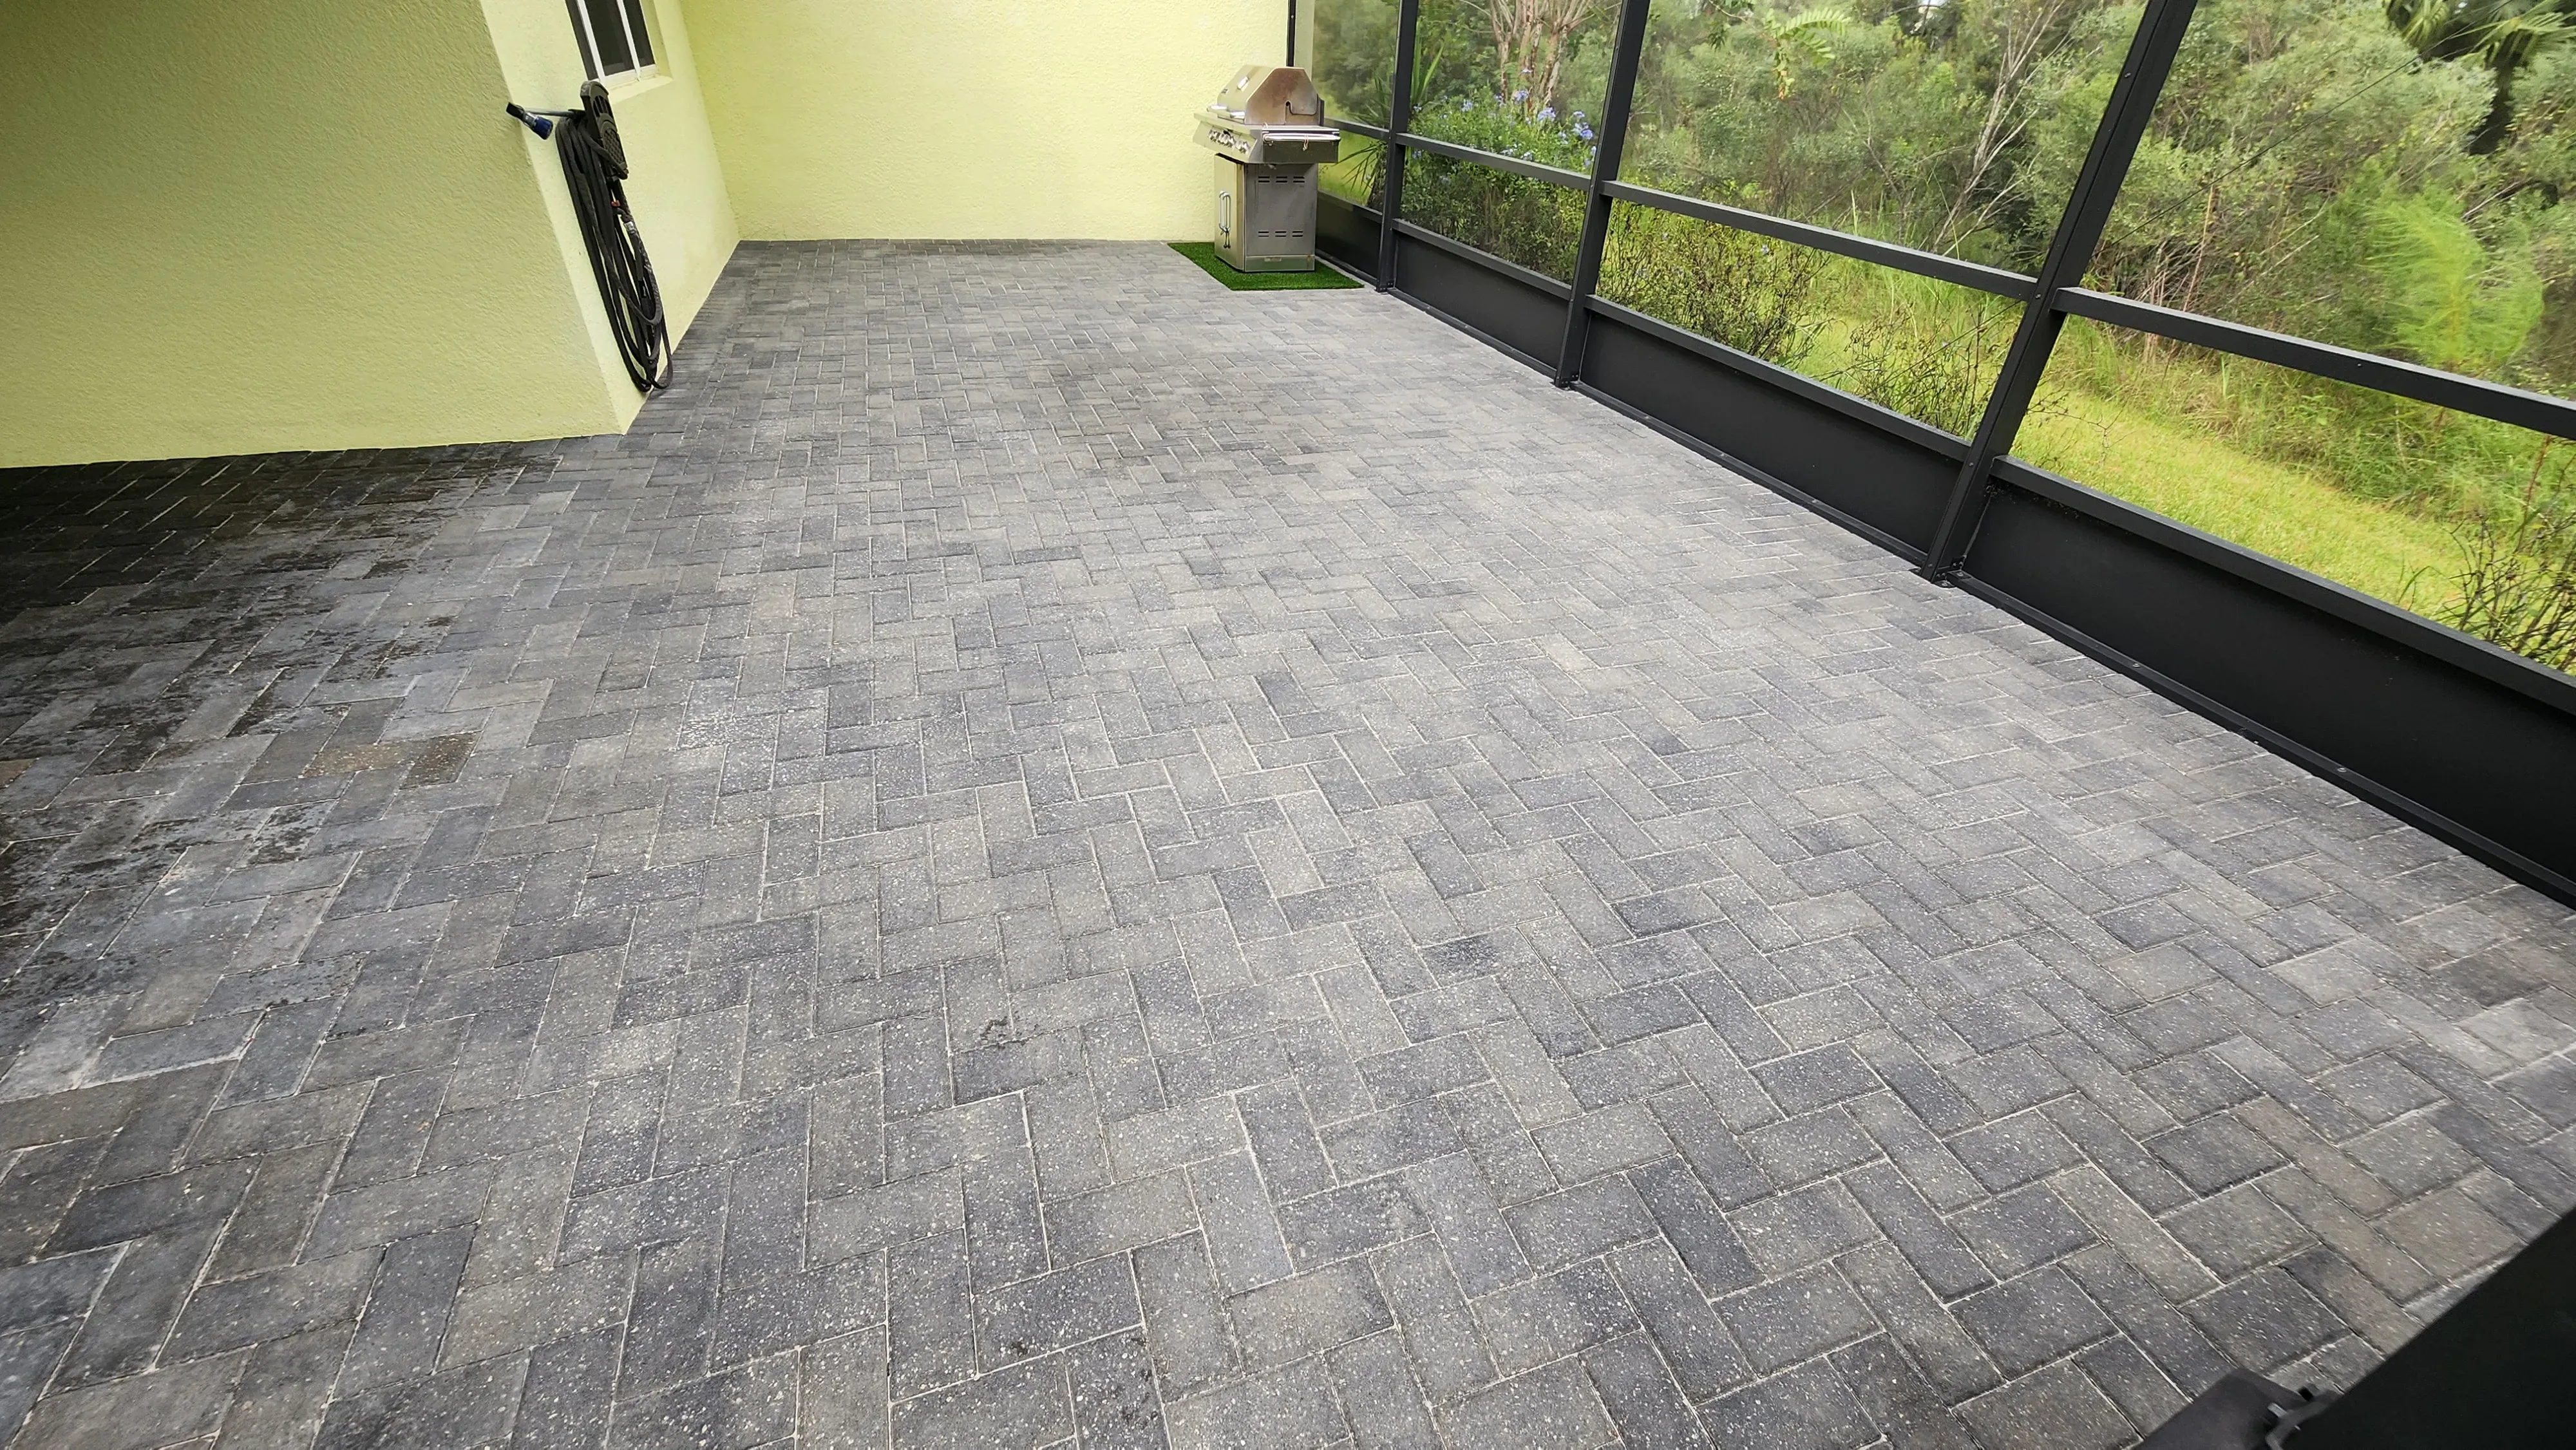
BEFORE
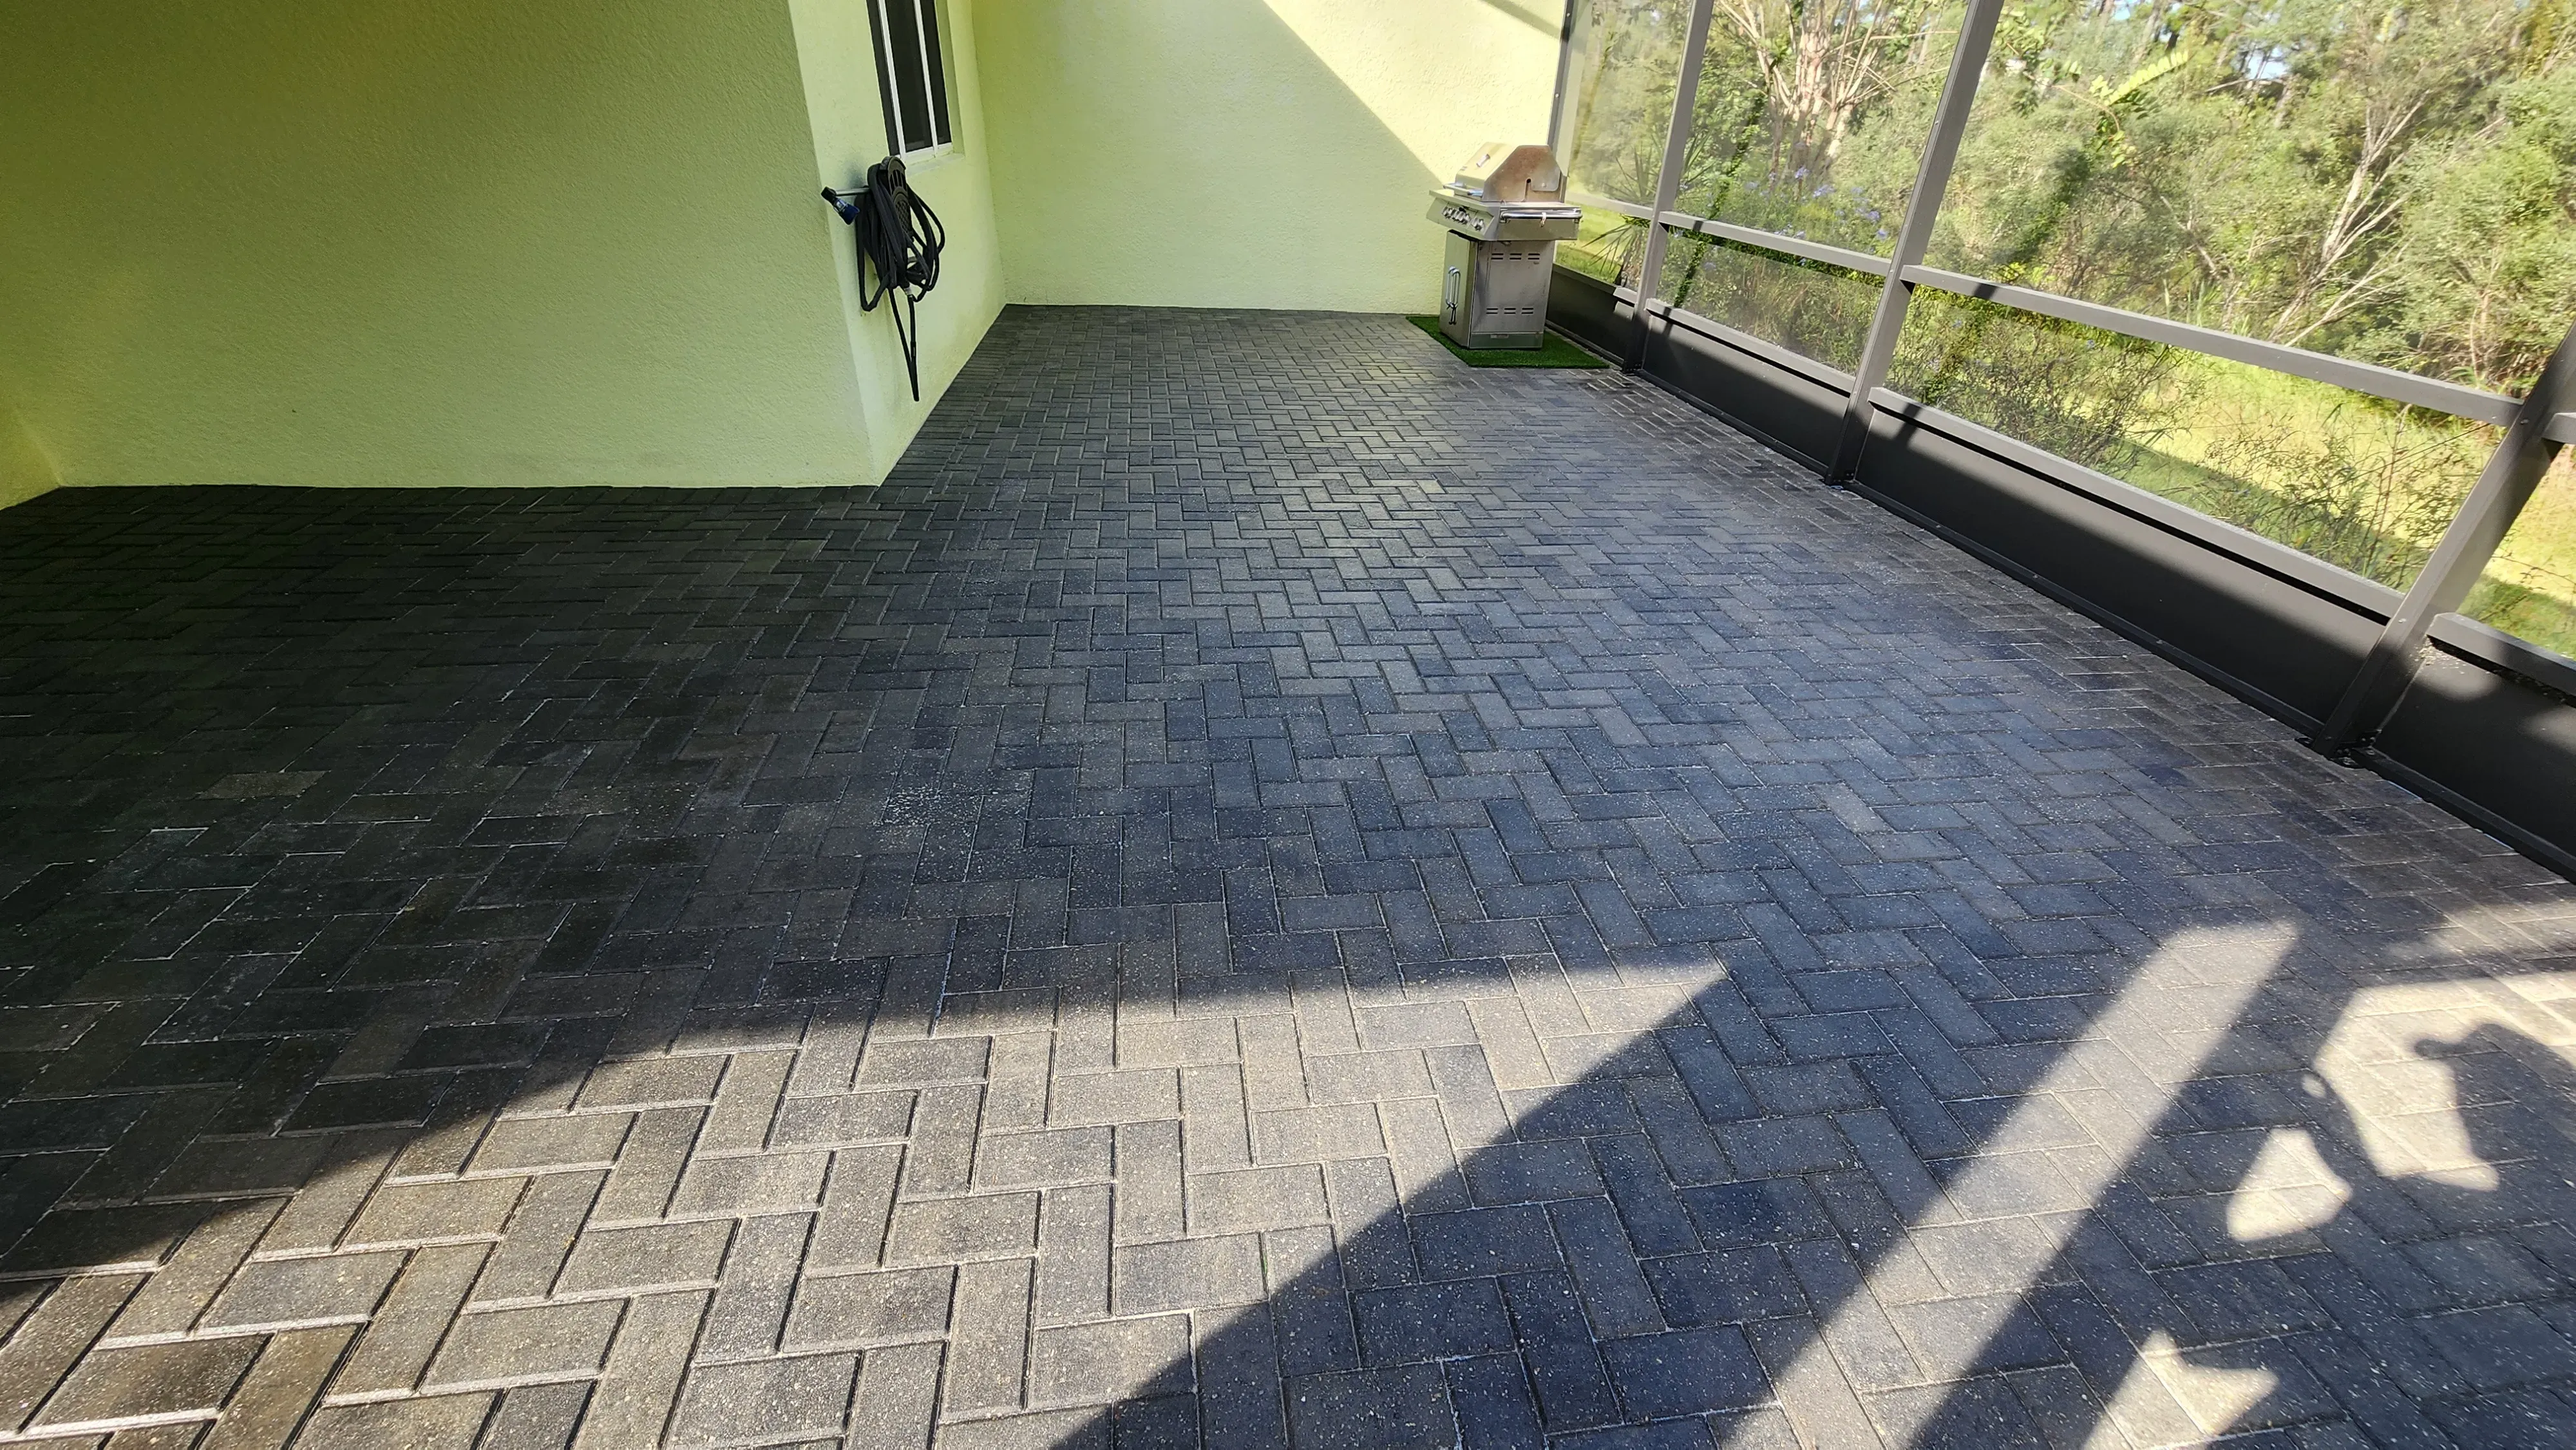
AFTER
Before and after a Castle Shield clean and seal on a Central Florida paver patio. The difference in color depth, joint clarity, and surface cleanliness shows what proper prep and a quality water-based sealer accomplish.
How Long Does Paver Sealer Take to Dry in Florida?
This is one of the most common questions homeowners ask before sealing their pavers.
For water-based paver sealer in Central Florida conditions:
Light foot traffic: Generally safe after 4 to 6 hours in dry weather.
Normal foot traffic and furniture: Most contractors recommend waiting 24 hours.
Vehicle traffic on a sealed driveway: Wait at least 48 to 72 hours. Tires generate heat and friction that can damage a sealer that has not fully cured.
Heavy rain: Avoid for the first 24 to 48 hours after sealing. A brief light sprinkle shortly after application is usually not catastrophic with water-based sealer, but a heavy storm during cure is a real problem.
Humidity slows cure. On a muggy Central Florida summer day with humidity above 80%, give the sealer more time than the label suggests before putting it under stress. This is one reason the dry season — roughly October through May — is easier for sealing. February through April is the sweet spot for Florida paver sealing conditions.
If you are sealing in summer, it can still be done with the right product and a weather window. Morning applications that allow a full dry afternoon before evening humidity builds back up are a common approach. A professional contractor will plan around the forecast.
Common Patio Paver Sealing Mistakes to Avoid
Sealing over damp pavers. The most common mistake. Pavers need to be genuinely dry, not just surface-dry. In Florida, that often means waiting a full day or more after cleaning before sealing.
Using the wrong sealer for the climate. Solvent-based sealer in Florida is high risk. If you do not know what type of sealer is already on your pavers, get it tested before applying anything new. Incompatible sealer layers are a common cause of failure.
Skipping the joint sand. Sealing over open or empty joints leaves the structural base of the patio vulnerable and misses one of the best opportunities to reduce weed growth.
Applying too thick. Thick coats look impressive going down and cause problems for years afterward. Thin, even, consistent coats are the right approach.
Sealing over efflorescence or failed sealer. You cannot seal your way out of a bad surface. Strip what needs stripping, clean what needs cleaning, and start fresh.
Not cleaning the surface first. This one seems obvious, but it is worth saying plainly: sealing dirty pavers seals the dirt in. The surface needs to be genuinely clean before the sealer goes down.
When to Call a Professional Instead of DIYing
Some homeowners successfully seal their own paver patios. It requires patience, the right equipment, dry conditions, and a realistic assessment of the surface condition before starting.
Here are the situations where calling a professional is the smarter call:
White haze or cloudy sealer already on the pavers. This requires stripping, which involves chemical stripper, proper application, and a thorough re-clean. This is not a beginner job.
Widespread efflorescence. Active mineral deposits need proper treatment before anything else happens.
Cracked, sunken, or broken pavers. Patio paver repair — relaying, re-leveling, or replacing damaged pieces — needs to happen before sealing. Sealing over structural problems does not fix them.
Large patio or driveway surfaces. Bigger surfaces leave less room for application mistakes before the first coat starts to tack up. Professionals have the equipment to work at a pace that keeps a wet edge.
Unknown sealer history. If you are not sure what is already on your pavers, a professional can test and identify the existing coating before making product decisions.
What Professional Paver Sealing Costs in Central Florida
Professional paver sealing in Central Florida generally runs between $1.50 and $3.00 per square foot in 2026. Most residential patio and driveway projects land somewhere between $1,000 and $3,000 depending on surface size, condition, and how much prep work is required.
Projects that involve stripping failed sealer cost more than a standard clean-and-seal because of the extra labor and materials involved. That is another reason to get the sealer choice right the first time.
If you are in Volusia County (Deltona, Daytona Beach, Port Orange, Ormond Beach, DeLand, New Smyrna Beach), Seminole County (Sanford, Lake Mary, Oviedo, Winter Springs, Longwood), or Orange County (Orlando, Winter Park, Apopka, Windermere, Winter Garden), Castle Clean and Seal can provide a specific quote after measuring and inspecting the surface.
Call (386) 215-5461 or request a free estimate online.
Related Reading
How long after cleaning pavers can you seal them in Florida?
What is the best paver sealer for Florida's climate?
How long does it take for paver sealer to dry enough for foot traffic?
Can you seal pavers yourself or should you hire a professional?
Will sealing my paver patio stop weeds from growing in the joints?
READY TO PROTECT YOUR INVESTMENT?
GET YOUR FREE SAME-DAY
QUOTE
Join 1,135+ happy Central Florida homeowners. Licensed & insured.
Takes 30 seconds · Same-day response · No obligation